1.clone xhprof 此版本为github第三方扩展 (php官房不支持 php 7)
http://github.com/longxinH/xhprof
2.extension 目录为扩展源码安状扩展即可
phpize && ./configure && make && make install
3.编辑php.ini 启用xhprof扩展
[xhprof]
extension= xhprof.so
xhprof.output_dir = /tmp/xhprof;性能分析数据文件存放位置 需要php用户有可写可读权限
4.对项目入口文件添加代码
xhprof_enable(XHPROF_FLAGS_NO_BUILTINS +
 XHPROF_FLAGS_CPU +
 XHPROF_FLAGS_MEMORY);
register_shutdown_function(function (){
 $data = xhprof_disable();
 //xhprof_lib 在第一步git clone 后的文件夹里面
 include '/mnt/d/www/xhprof/xhprof_lib/utils/xhprof_lib.php';
 include '/mnt/d/www/xhprof/xhprof_lib/utils/xhprof_runs.php';
 $objXhprofRun = new XHProfRuns_Default();
 $objXhprofRun->save_run($data, "table"); //生成数据文件后缀
 });
5.nginx 或者 apache 创建 网占目录(apache为例)
<VirtualHost *:80>
 ServerName xhprof.com
 ## xhprof/xhprof_html 在第一步git clone 后的文件夹里面
 DocumentRoot "/mnt/d/www/xhprof/xhprof_html"
 DirectoryIndex index.html index.php index.html
 <Directory "/mnt/d/www/xhprof/xhprof_html">
 Options Indexes FollowSymLinks
 AllowOverride All
 Require all granted
 </Directory>
</VirtualHost>
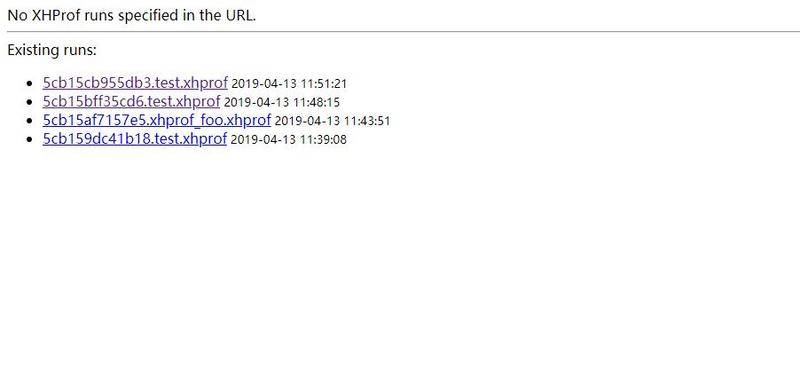
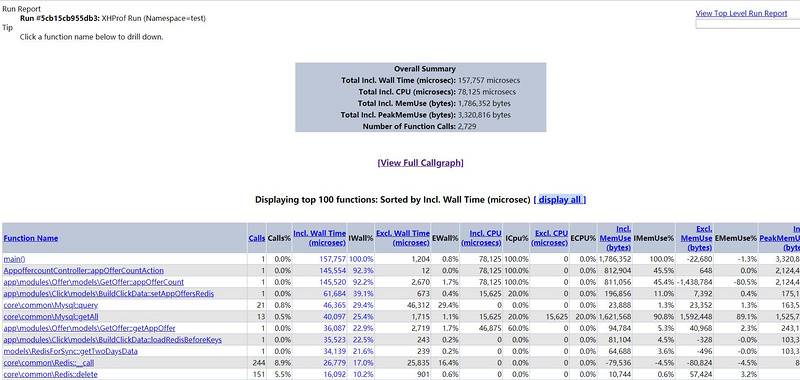
6.访问http://xhprof.com/ (上面虚拟主机配置的 本地域名需要host )显示每次程序运行生成的性能分析数据文件 点击可以打 开
7.如果想要查看性能图点击 view full callgraph (服务器需要安装 graphviz 库)
ubuntu 安装方法 (pro apt-get install graphviz)
8.显示效果图
